
If you’re a creative person or pay attention to aesthetics, you will probably notice that most Linux distributions include only a handful of open-source fonts to begin with. Linux Mint and some other distributions have an option to install the common Microsoft fonts in the Software Manager, however the selection here is limited. If you have a Windows or Mac computer available, here is a way to get all the fonts you know and love onto Linux.
- Copy the fonts from Windows or Mac. On Windows, open File Explorer and navigate to C:/windows/fonts. Copy paste all of the files here to a folder on a USB flash drive or other storage method.
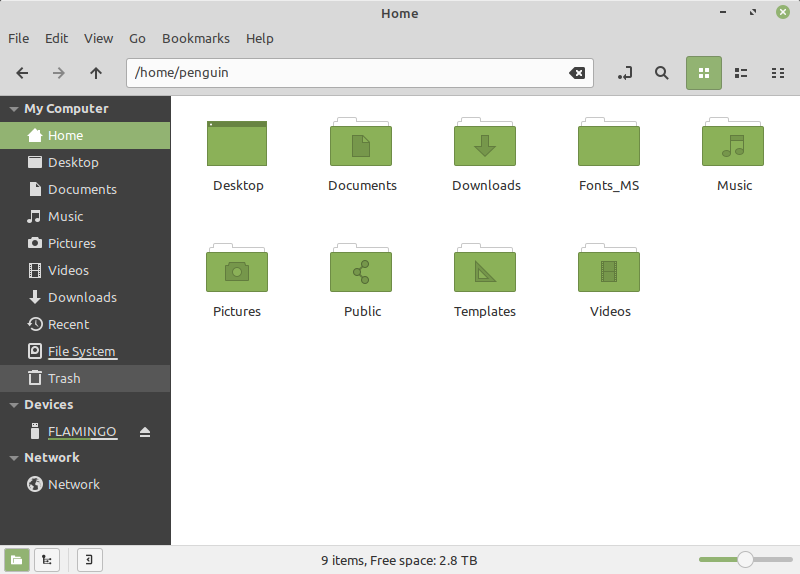
- On the Linux machine, copy the folder with the fonts to your home folder. For example, I have a folder called “Fonts_MS” holding the fonts.
3. Linux stores fonts in a folder called /usr/share/fonts. Fonts can be installed simply by copying the fonts to this folder. However, this directory is restricted, and if you try to copy here you will find the Paste option is grayed out.
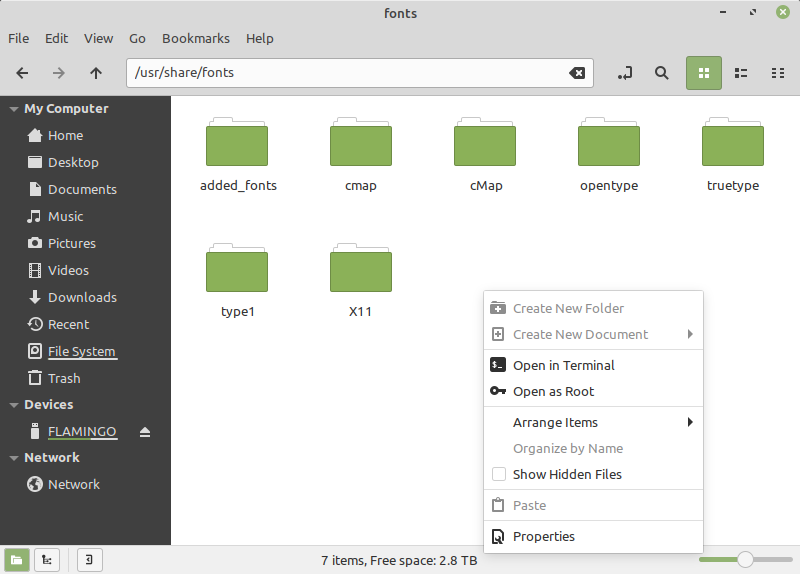
4. As a workaround, we can use “super” or “sudo” privileges in the terminal and copy the fonts there anyway. First we navigate to /usr/share/fonts.
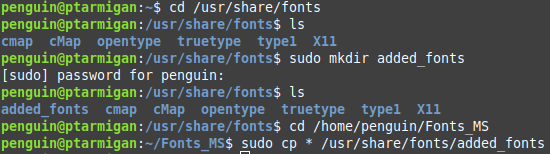
cd /usr/share/fontscd /usr/share/fonts5. Then create a directory, in this example called “added_fonts”.
sudo mkdir added_fonts6. Now navigate to the directory where your new fonts are stored, in this example “Fonts_MS”, and switch “username” with your username.
cd /home/username/Fonts_MS7. Finally, copy the fonts to the new folder with this command.
sudo cp * /usr/share/fonts/added_fontsHere is the actual terminal window for copying the fonts. I used ls to list the contents in two places to show that the “added_fonts” folder was actually created.
Congratulations, the fonts are available now!